November 2024 update: Learn about the upgraded Docker plans and choose the best Docker Subscription for you. Simpler, more value, better development and productivity.
Read our Docker Desktop release collection to learn about our latest enhancements and innovations.
—
Earlier this month Docker announced our partnership with Microsoft to shorten the developer commute between the desktop and running containers in the cloud. We are excited to announce the first release of the new Docker Azure Container Instances (ACI) experience today and wanted to give you an overview of how you can get started using it.
The new Docker and Microsoft ACI experience allows developers to easily move between working locally and in the Cloud with ACI; using the same Docker CLI experience used today! We have done this by expanding the existing docker context command to now support ACI as a new backend. We worked with Microsoft to target ACI as we felt its performance and ‘zero cost when nothing is running’ made it a great place to jump into running containers in the cloud.
ACI is a Microsoft serverless container solution for running a single Docker container or a service composed of a group of multiple containers defined with a Docker Compose file. Developers can run their containers in the cloud without needing to set up any infrastructure and take advantage of features such as mounting Azure Storage and GitHub repositories as volumes. For production cases, you can leverage Docker commands inside of an automated CI/CD flow.
Thanks to this new ACI context, you can now easily run a single container in Microsoft ACI using the docker run command but also multi-container applications using the docker compose up command.
This new experience is now available as part of Docker Desktop Edge 2.3.2 . To get started, simply download the latest Edge release or update if you are already on Desktop Edge.
Create an ACI context
Once you have the latest version, you will need to get started by logging into an Azure account. If you don’t have one you can sign up for one with $200 of credit for 30 days to try out the experience here. Once you have an account you can get started in the Docker CLI by logging into Azure:

This will load up the Azure authentication page allowing you to login using your credentials and Multi-Factor Authentication (MFA). Once you have authenticated you will see a login succeeded in the CLI, you are now ready to create your first ACI context. To do this you will need to use the docker context create aci command. You can either pass in an Azure subscription and resource group to the command or use the interactive CLI to choose them, or even create a resource group. For this example I will deploy to my default Resource Group.

My context is then created and I can check this using docker context ls

Single Container Application Example
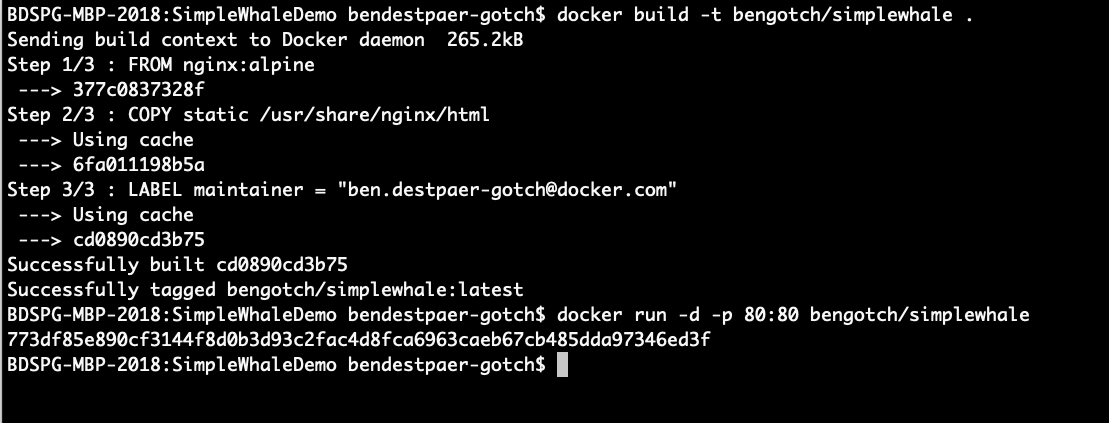
Before I use this context, I am now going to test my application locally to check everything is working as expected. I am just going to use a very simple web server with a static HTML web page on.
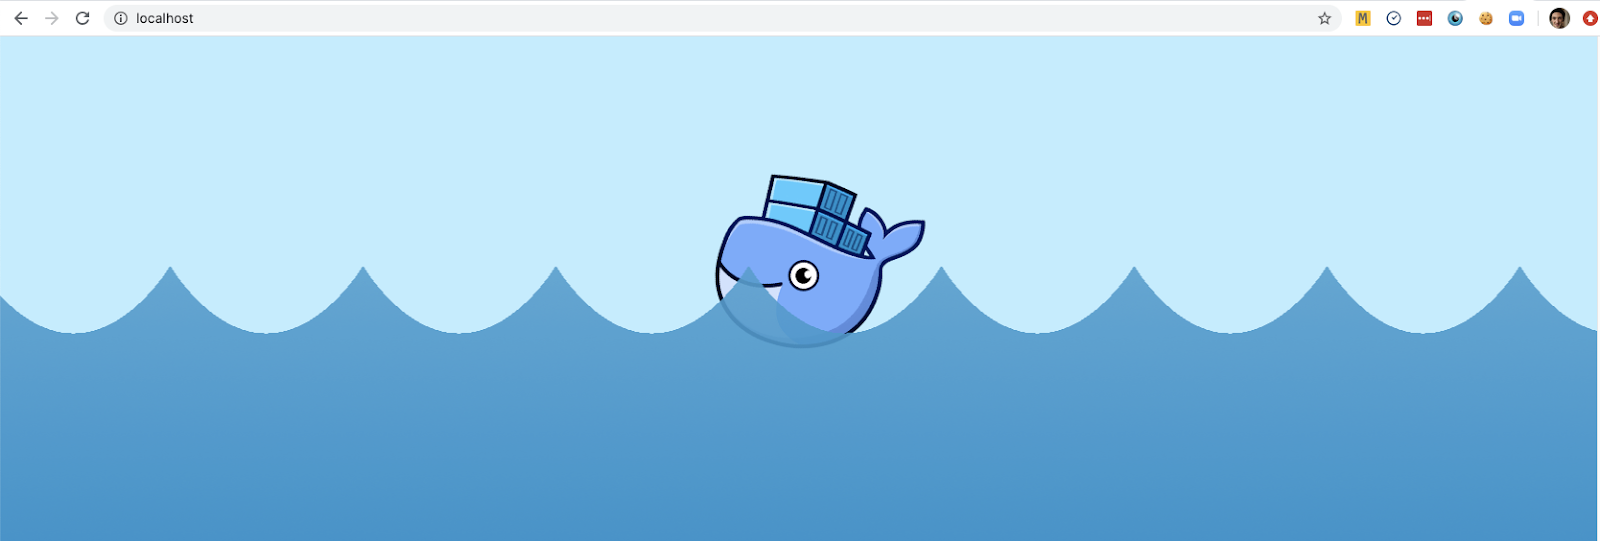
I start by building my image and then running it locally:


Getting ready to run my container on ACI, I now push my image to Dockerhub using docker push bengotch/simplewhale and then change my context using docker context use myacicontext. From that moment, all the subsequent commands we will execute will be run against this ACI context.
I can check no containers are running in my new context using docker ps. Now to run my container on ACI I only need to repeat the very same docker run command as earlier. I can see my container is running and use the IP address to access my container running in ACI!


I can now remove my container using docker rm. Note that once the command has been executed, nothing is running on ACI and all resources are removed from ACI – resulting in no ongoing cost.
Multi-Container Application Example
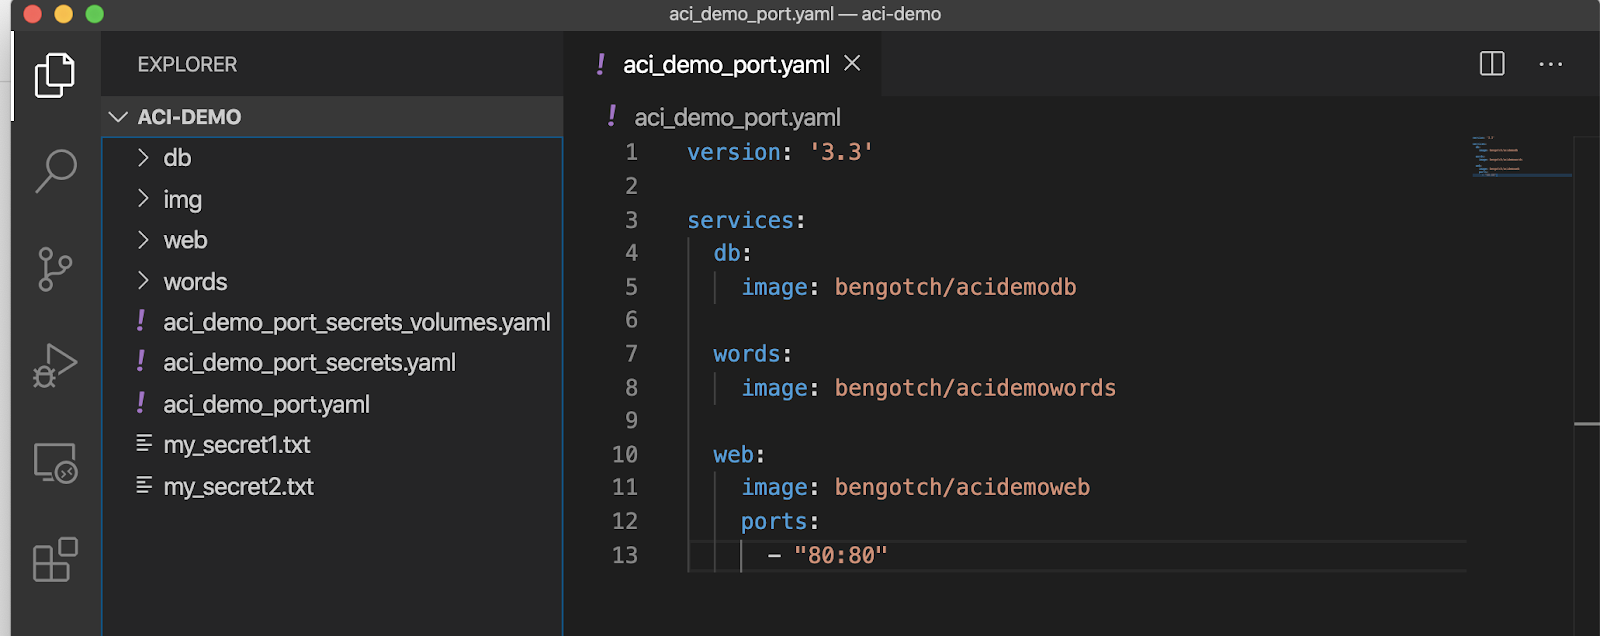
With the new Docker ACI experience we can also deploy multi-container applications using Docker Compose. Let’s take a look at a simple 3 part application with a Java backend, Go frontend and postgres DB:

To start, I swap to my default (local) context and run a docker-compose up to run my app locally.

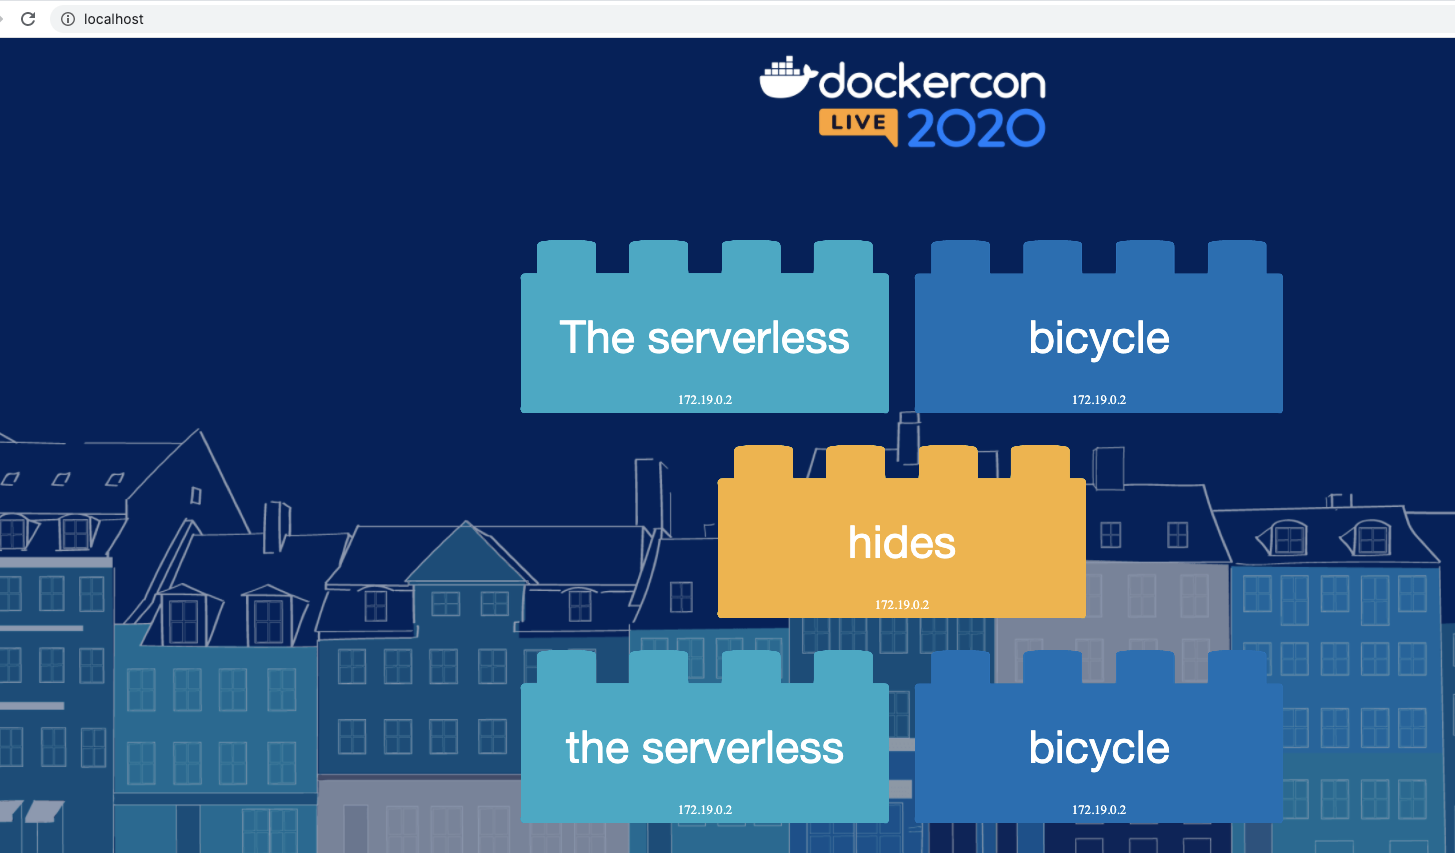
I then check to see that I can access it and see it running locally:

Now I swap over to my ACI context using docker context use myacicontext and run my app again. This time I can use the new syntax docker compose up (note the lack of a ‘-’ between docker and compose).

And I can then go and see if this is working using its public IP address:

I have now run both my single container locally and in the cloud, along with running my multi-container app locally and in the cloud – all using the same artifacts and using the same Docker experience that I know and love!
Try out the new experience!
To try out the new experience, download the latest version of Docker Desktop Edge today, you can raise bugs on our beta repo and let us know what other features you would like to see integrated by adding an issue to the Docker Roadmap!
