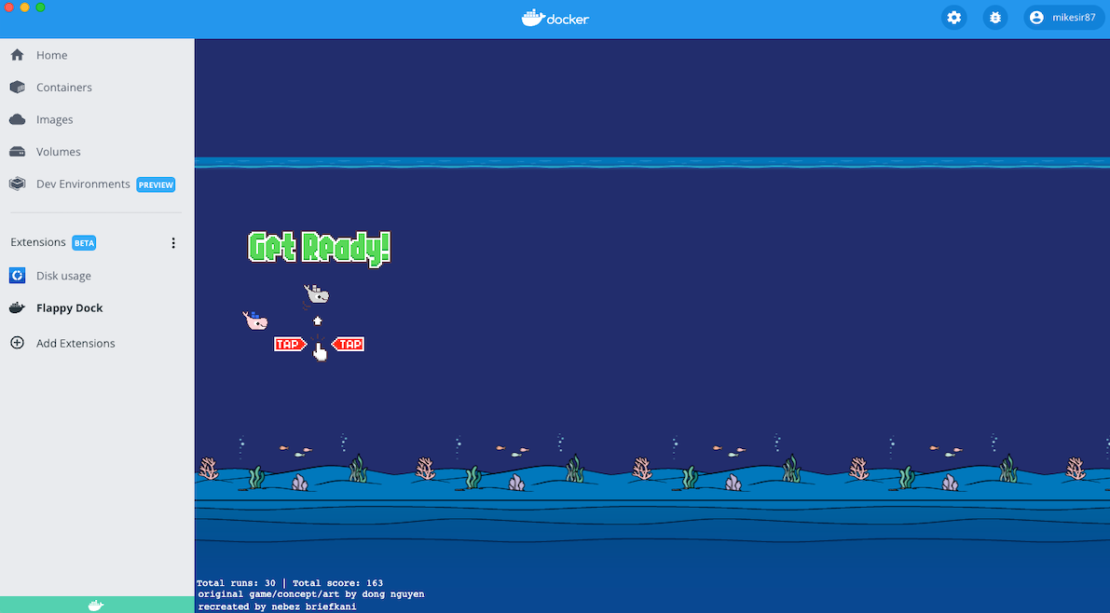
During KubeCon EU 2022, our Docker team was able to show off many of our latest releases, including Docker Desktop for Linux and Docker Extensions. Community feedback on these has been overwhelmingly positive! To help demonstrate the types of extensions available, we demoed the Disk Usage extension and built our own extension just for the conference: Flappy Dock! Let’s dive into the extension and how we built it.

The Makeup of an Extension
In case you haven’t built your own extension, extensions are simply specially formatted Docker images that contain a frontend and optional backend services. The frontend is simply a web app that’s extracted from the image and rendered within Docker Desktop. Therefore, anything that can run in a web browser can run as an extension! The extension’s metadata.json (more on that later) configuration file tells Docker Desktop how to install and use it.
As we looked around for fun ideas for KubeCon, we decided to run a simple game. Fortunately, we found a web adaptation of Flappy Bird on GitHub — thanks nebez/floppybird! This would be a perfect starting point.
Converting Flappy Bird to Flappy Dock
While Flappy Bird is fun, why don’t we make it match our nautical theme while using Moby and Molly? Luckily, that’s a pretty easy change to make with the following steps.
1) Using the NGINX Container
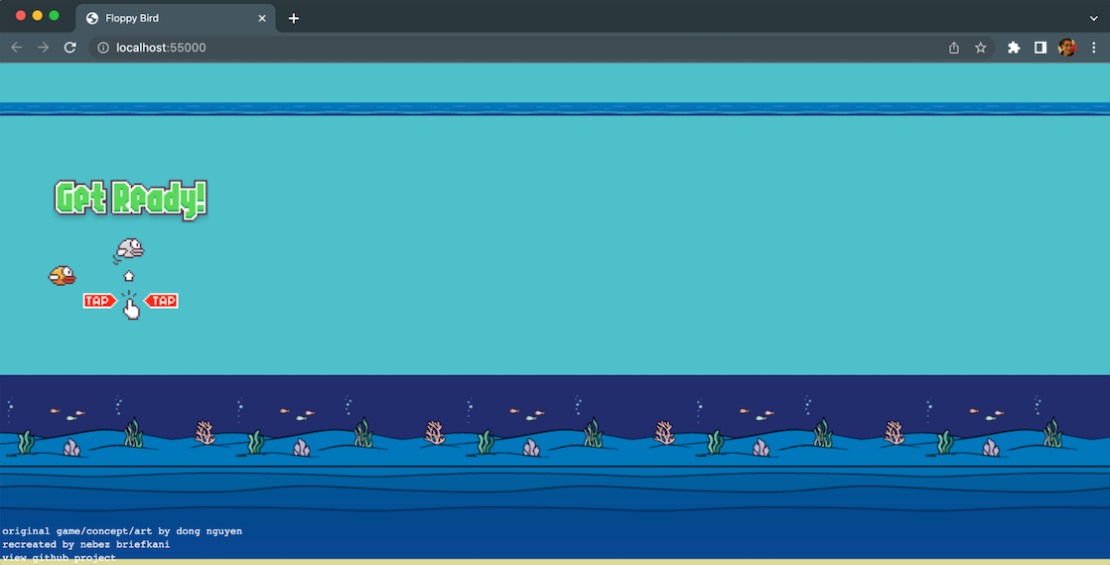
After cloning the repo locally, we can launch the app using an nginx container. Using the new Featured Images page, I can start my container with a few clicks. If I start an nginx container, select the directory I cloned the repo into, and open the site, I get Flappy Bird! Feel free to play a game or two (use either the mouse or spacebar to play the game)!

2) Swapping Out Our Images
To customize the game, we need to swap out some images with some Docker-themed images! Each of the following images go into the assets folder.
- Moby
- Molly
- The ocean background (replacing the sky)
- The ocean ceiling
- The ocean floor (replacing the land)
3) Changing Your CSS
We’ll modify the css/main.css and replace the original sky, ceiling, and land assets with our new images. If we refresh our browser, we should have the following now!

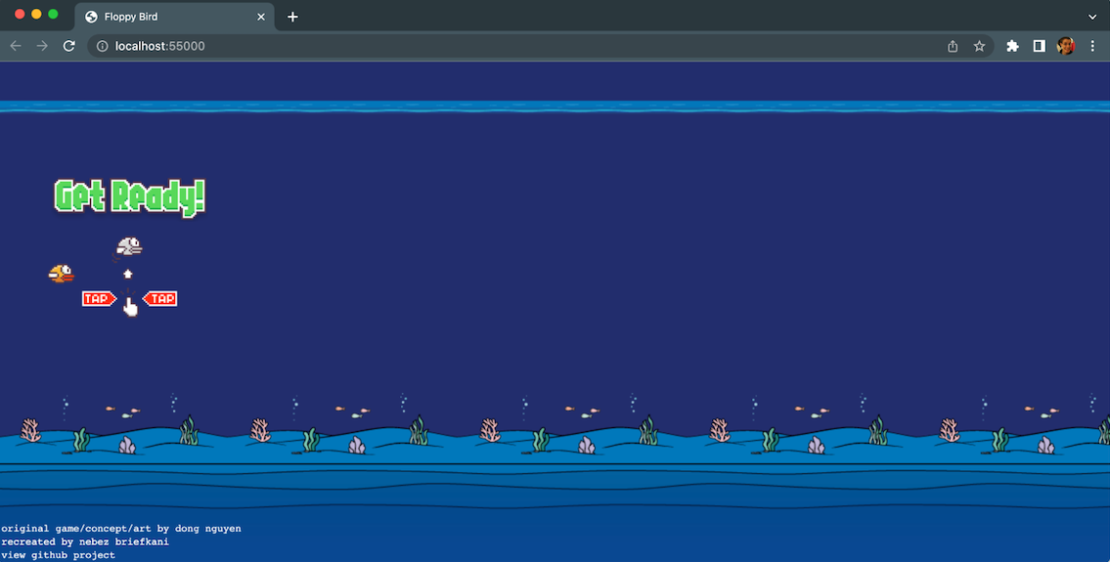
Our images are now in place, but we’ll need to tweak the colors where the images aren’t being used. We’ll do that next!
In the css/main.css file, make the following changes:
- In the
#skydeclaration, set the background color value to #222D6D - In the
#landdeclaration, set the background color value to #094892
You can see our game coming together!

4) Updating Your Game Code
With both CSS classes in place, let’s update the game code to randomly choose a character. We also must clear out the previous character choice, since you can play the game multiple times without refreshing the page. In the js/main.js file, locate the showSplash function. At the top of that function, add the following:
const useMolly = Math.floor(Math.random() * 2) === 0;
$("#player")
  .removeClass("moby").removeClass("molly")
  .addClass(useMolly ? "molly" : "moby");
Finally, check out your game. You should now successfully have either Moby or Molly as your main character while playing Flappy Dock!

Turning Flappy Dock into an Extension
Now that we have our web-based game ready to go, it’s time to turn it into an extension! As we mentioned earlier, an extension is simply a specialized image that contains a metadata.json with configurations.
To use the docker extension commands, first install the Docker Extension SDK plugin (instructions can be found here). This is currently the only method to install an extension not listed in the Extensions Marketplace.
1) Adding Configurations to the Root
In the root of our project, we’re then going to create a metadata.json file with the following contents:
{
 "icon": "docker.svg",
 "ui": {
   "dashboard-tab": {
     "title": "Flappy Dock",
     "root": "ui",
     "src": "index.html"
   }
 }
}
This configuration specifies the extension title and the location within the container image that contains the web-based application.
2) Creating an Image
Now, all that’s left is to create a container image. We can use the following Dockerfile to do so!
FROM alpine
LABEL org.opencontainers.image.title="Flabby Dock" \
   org.opencontainers.image.description="A fun extension to play Flappy Bird, but Docker style!" \
   org.opencontainers.image.vendor="Your name here" \
   com.docker.desktop.extension.api.version=">= 0.2.3" \
   com.docker.extension.screenshots="" \
   com.docker.extension.detailed-description="" \
   com.docker.extension.publisher-url="" \
   com.docker.extension.additional-urls="" \
   com.docker.extension.changelog=""

COPY metadata.json .
COPY index.html ui/
COPY assets ui/assets
COPY css ui/css
COPY js ui/js
The Dockerfile here simply puts the metadata.json at the root and copies other key files in the locations we specified in our config. You can also use various labels to describe the image (which is helpful for images in the Marketplace).
At this point, we can build our image and install it with the following commands:
docker build -t flappy-dock .
docker extension install flappy-dock
3) Confirming Within Docker Desktop
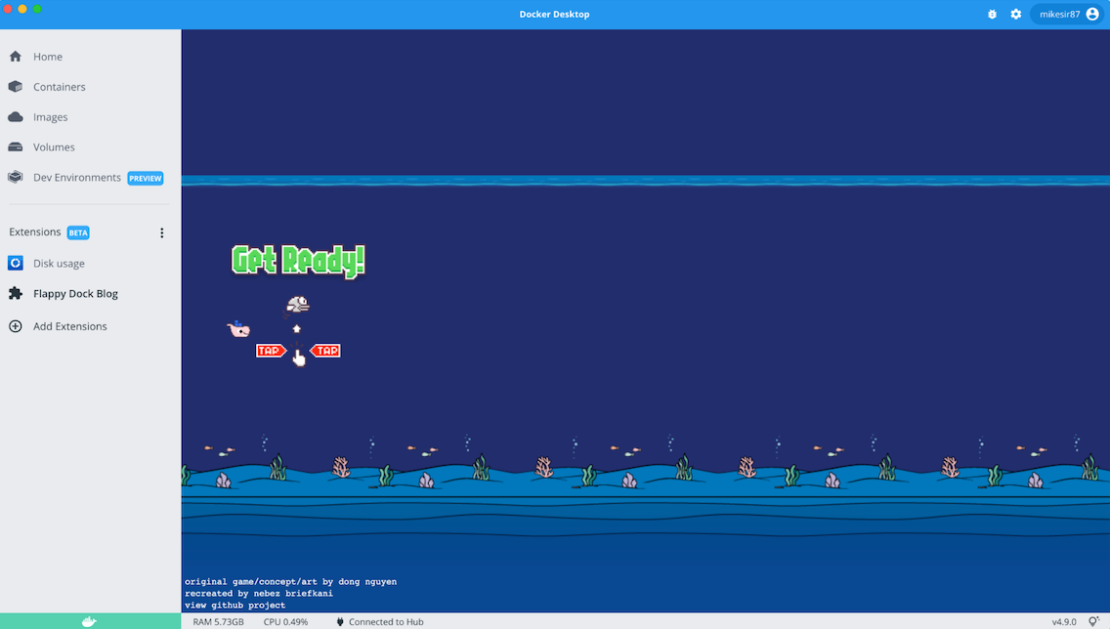
Within Docker Desktop, we should now see Flappy Dock in the sidebar! If you click on it, you can play the game!

For KubeCon, we added a few additional changes to the app — including a running total score, run count, and an available “easy mode” with extra space between the pipes. Want to learn more? Check out our version of the code in this GitHub code repo.
Recap
While a fairly basic example — by building Flappy Dock into an extension — we demonstrated how to turn any web-based interface into an extension. If you have ideas for your own tools, documentation, or even games, we hope this blog post helped out!
If you want to dive deeper into Docker Extensions and explore the additional capabilities provided through the SDK (including running Docker commands, listing containers and images, and more), visit the resources below. We’d love to hear your feedback and about what you want to build with Docker Extensions!
- Extensions SDK Docs – useful when building your own extension and exploring the SDK
- Extensions SDK Repo – useful for sharing feedback, reporting bugs, or submitting feature requests
