This is part of a series of articles describing how the AtSea Shop application was built using enterprise development tools and Docker. In the previous post, I introduced the AtSea application and how I developed a REST application with the Eclipse IDE and Docker. Multi-stage builds, a Docker feature introduced in Docker 17.06 CE, let you orchestrate a complex build in a single Dockerfile. Before multi-stage build, Docker users would use a script to compile the applications on the host machine, then use Dockerfiles to build the images. The AtSea application is the perfect use case for a multi-stage build because:
- it uses node.js to compile the ReactJs app into storefront
- it uses Spring Boot and Maven to make a standalone jar file
- it is deployed to a standalone JDK container
- the storefront is then included in the jar
Let’s look at the Dockerfile.
The react-app is an extension of create-react-app. From within the react-app directory we run AtSea’s frontend in local development mode.
The first stage of the build uses a Node base image to create a production-ready frontend build directory consisting of static javascript and css files. A Docker best practice is named stages, e.g. “FROM node:latest AS storefront”.
This step first makes our image’s working directory at /usr/src/atsea/app/react-app. We copy the contents of the react-app directory, which includes the ReactJs source and package.json file, to the root of our image’s working directory. Then we use npm to install all necessary react-app’s node dependencies. Finally, npm run build bundles the react-app using the node dependencies and ReactJs source into a build directory at the root.
FROM node:latest AS storefront
WORKDIR /usr/src/atsea/app/react-app
COPY react-app .
RUN npm install
RUN npm run build
Once this build stage is complete, the builder has an intermediate image named storefront. This temporary image will not show up in your list of images from a docker image ls. Yet the builder can access and choose artifacts from this stage in other stages of the build.
To compile the AtSea REST application, we use a maven image and copy the pom.xml file, which maven uses to install the dependencies. We copy the source files to the image and run maven again to build the AtSea jar file using the package command. This creates another intermediate image called appserver.
FROM maven:latest AS appserver
 WORKDIR /usr/src/atsea
 COPY pom.xml .
 RUN mvn -B -f pom.xml -s /usr/share/maven/ref/settings-docker.xml dependency:resolve
 COPY . .
 RUN mvn -B -s /usr/share/maven/ref/settings-docker.xml package -DskipTests
Putting it all together, we use a java image to build the final Docker image. The build directory in storefront, created during the first build stage, is copied to the /static directory, defined as an external directory in the AtSea REST application. We are choosing to leave behind all those node modules :).
We copy the AtSea jar file to the java image and set ENTRYPOINT to start the application and set the profile to use a PostgreSQL database. The final image is compact since it only contains the compiled applications in the JDK base image.
FROM java:8-jdk-alpine
WORKDIR /static
COPY --from=storefront /usr/src/atsea/app/react-app/build/ .
WORKDIR /app
COPY --from=appserver /usr/src/atsea/target/AtSea-0.0.1-SNAPSHOT.jar .
ENTRYPOINT ["java", "-jar", "/app/AtSea-0.0.1-SNAPSHOT.jar"]
CMD ["--spring.profiles.active=postgres"]
This step uses COPY –from command to copy files from the intermediate images. Multi-stage builds can also use offsets instead of named stages, e.g. “COPY --from=0 /usr/src/atsea/app/react-app/build/ .”
Multi-stage builds facilitate the creation of small and significantly more efficient containers since the final image can be free of any build tools. External scripts are no longer needed to orchestrate a build. Instead, an application image is built and started by using docker-compose up –build. A stack is deployed using docker stack deploy -c docker-stack.yml.
Multi-Stage Builds in Docker Cloud
Docker Cloud now supports multi-stage builds for automated builds. Linking the github repository to Docker Cloud ensures that your images will be always be current. To enable automated builds, tag and push your image to your Docker Cloud repository.
docker tag atsea_app <your username>/atsea_app
docker push <your username>/atsea_app
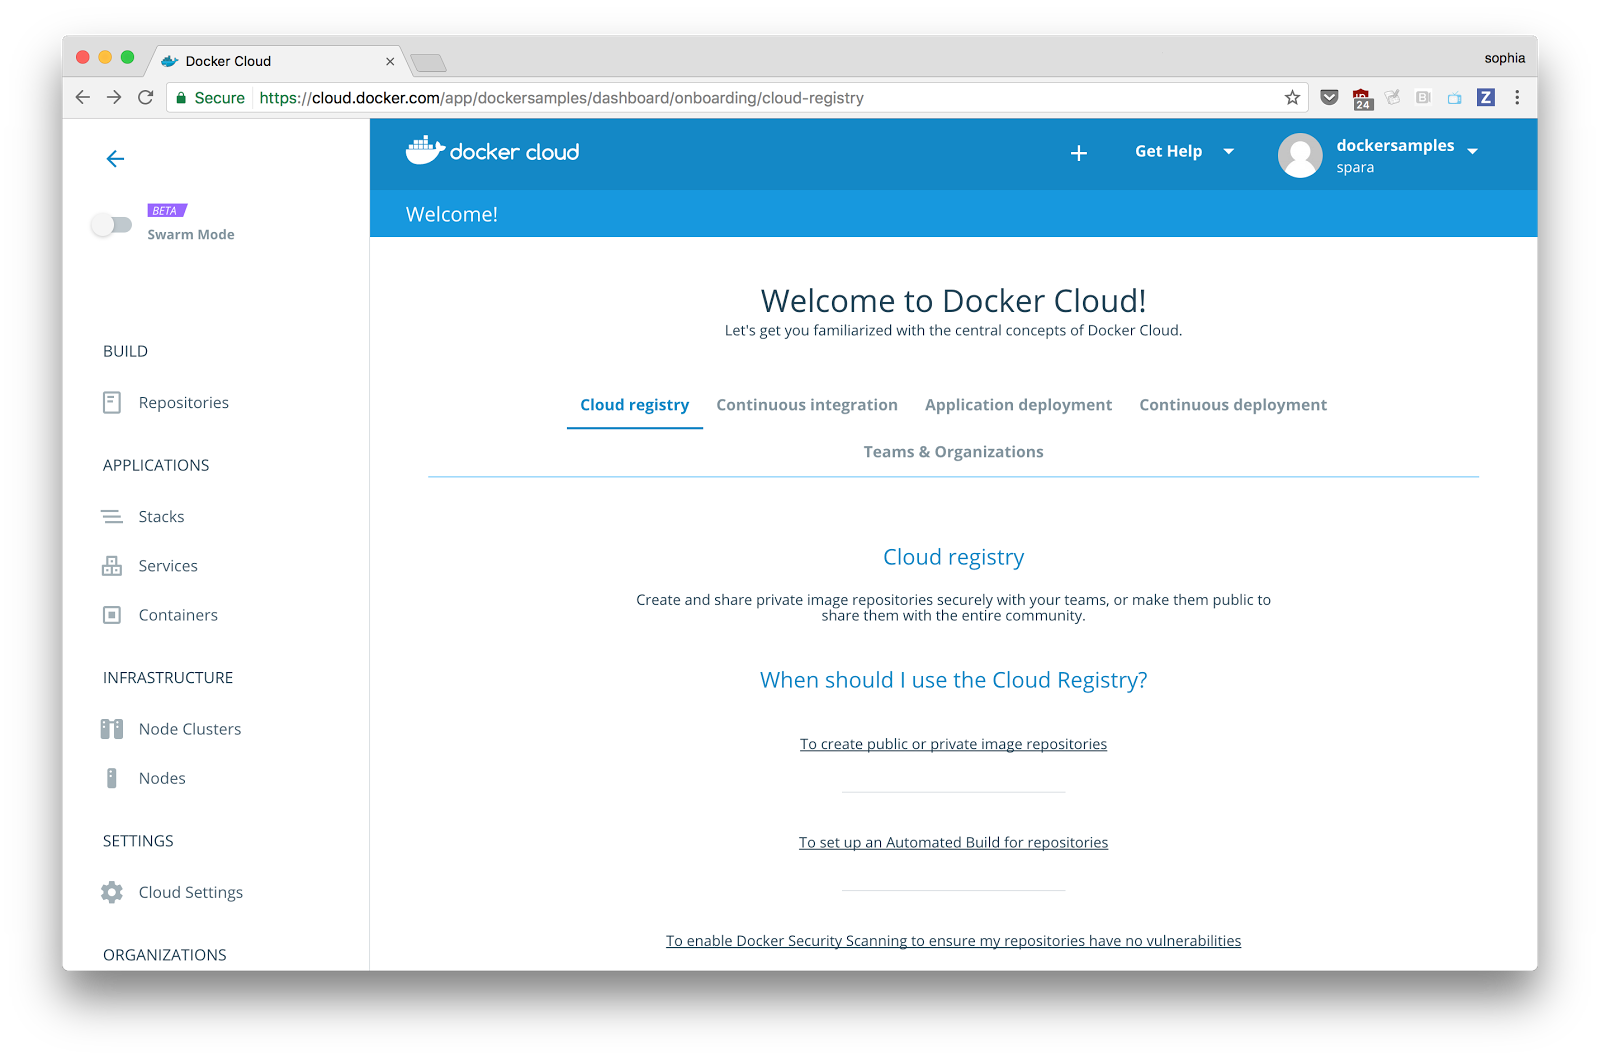
Log into your Docker Cloud account.

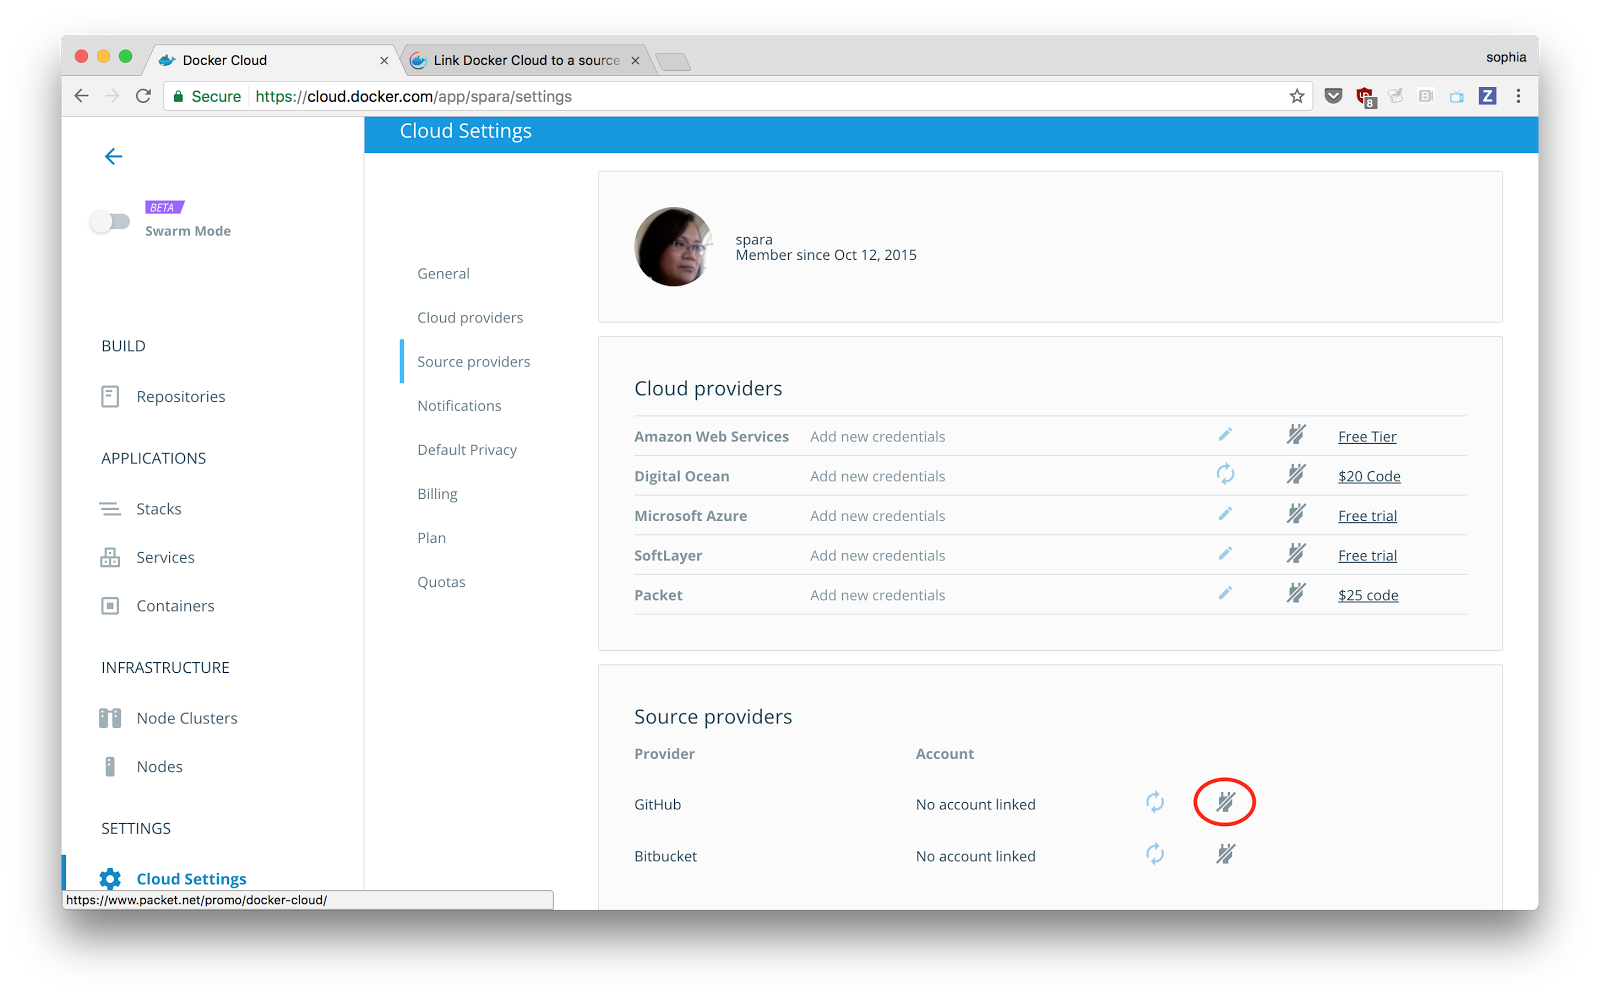
Next connect your Github account to give Cloud access to the source code. Click on Cloud Settings, then click on sources, and the plug icon. Follow the directions to connect your Github account.

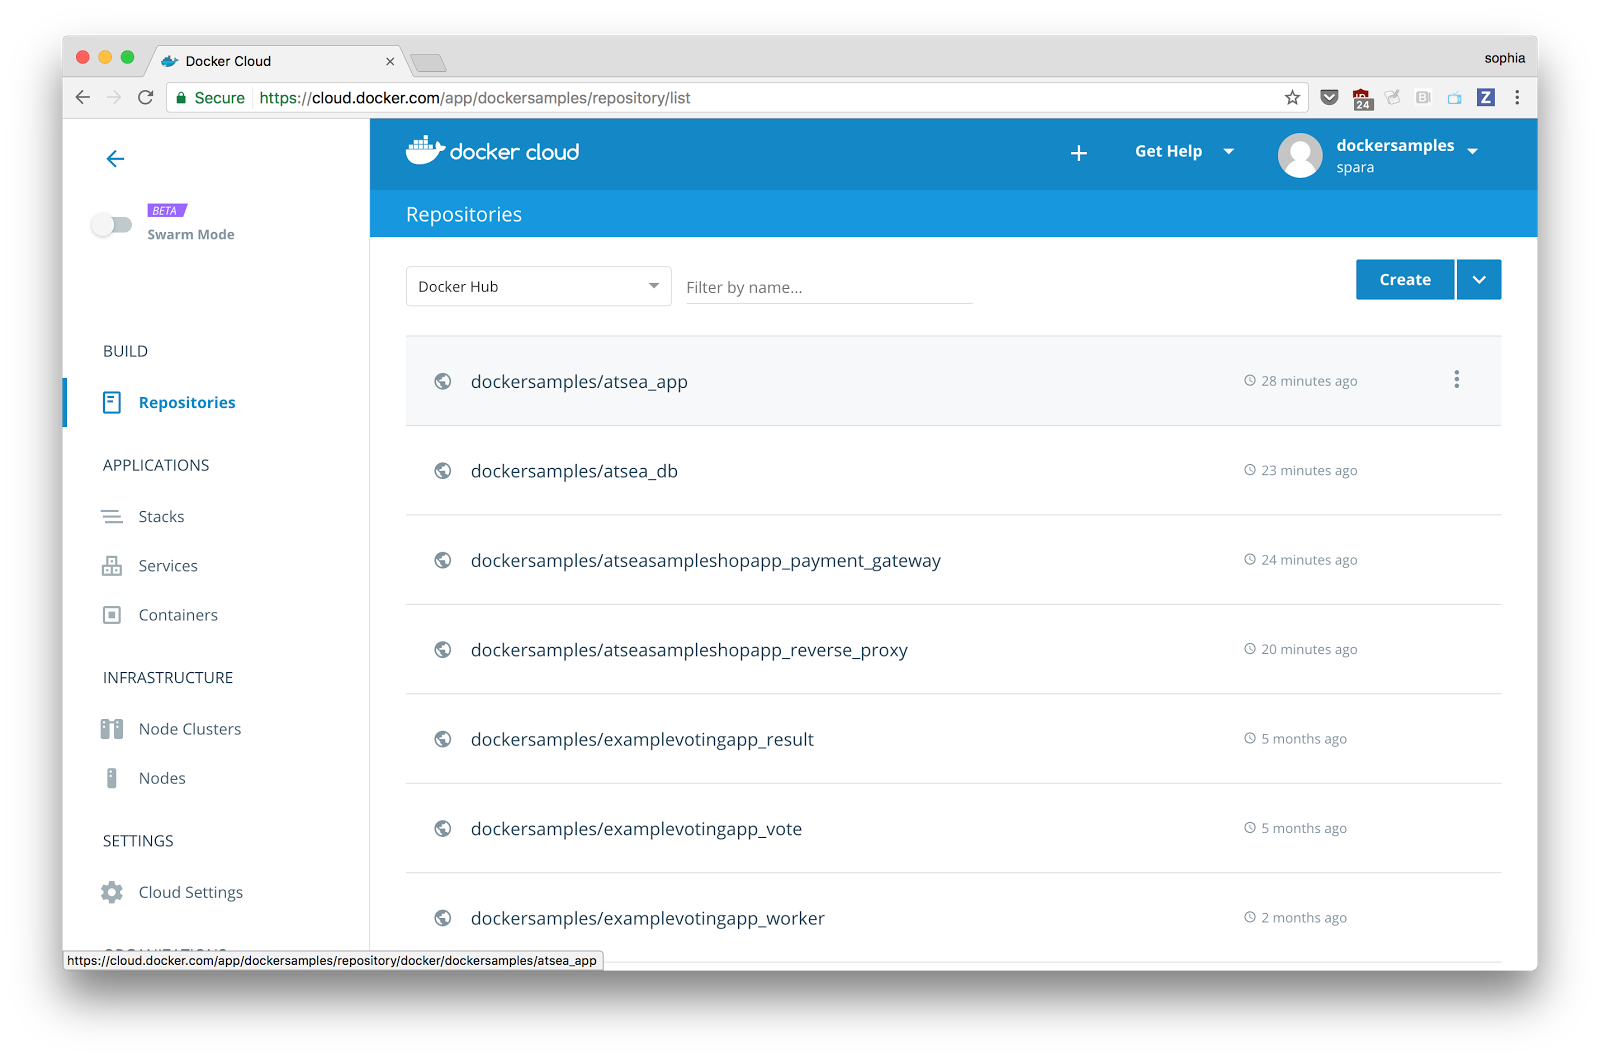
After your Github account is connected, click on Repositories on the side menu and then click your atsea_app repository.

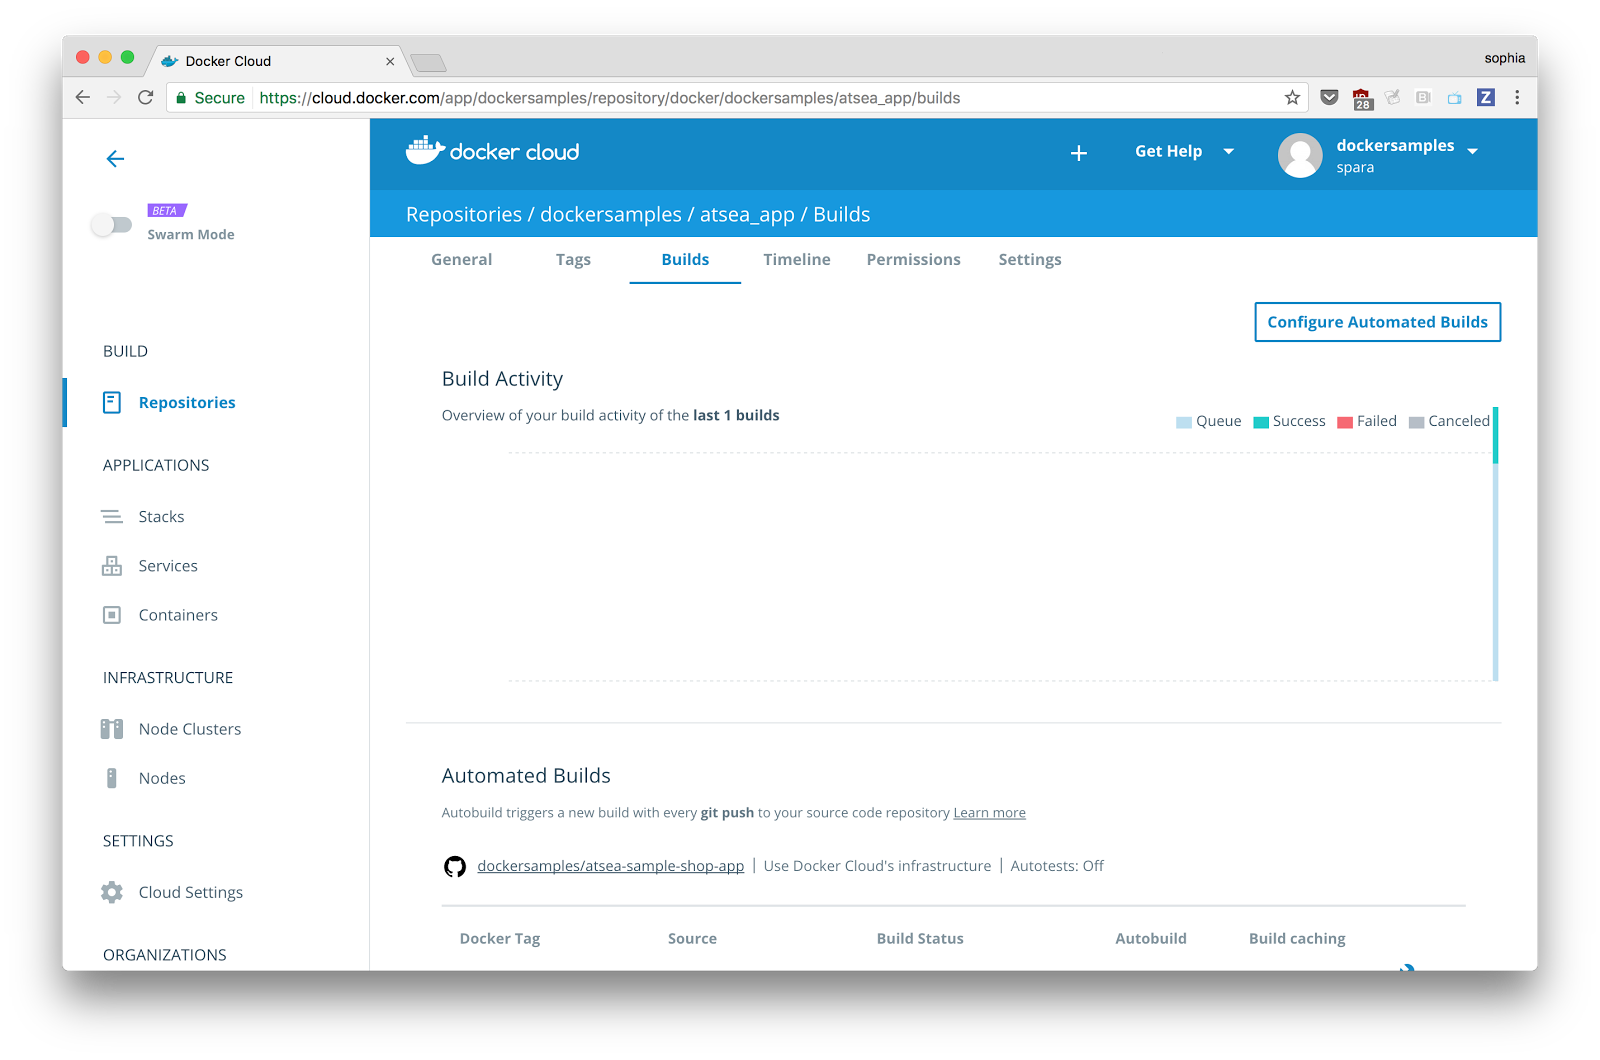
Click on Builds, then click on Configure Automated Builds on the following screen.

In the Build Configurations form, complete
- the Source Repository with the Github account and repository
- the Build Location, we’ll use Docker Cloud with a medium node
- the Docker Version using Edge 17.05 CE which supports multi-stage builds
- leave Autotest to off
- create a Build Rule that specifies the dockerfile in the app directory of the repository
Click on Save and Build to build the image.

Docker Cloud will notify you if the build was successful.

For more information on multi-stage builds read the documentation and Docker Captain Alexis Ellis’ Builder pattern vs. Multi-stage builds in Docker. To build compact and efficient images watch Abby Fuller’s Dockercon 2017 presentation, Creating Effective Images and check out her slides.
Interested in more? Check out these developer resources and videos from Dockercon 2017.
- AtSea Shop demo
- Docker Reference Architecture: Development Pipeline Best Practices Using Docker EE
- Automated Builds in Docker Cloud
- Docker Labs
- DockerCon videos
[Tweet “Multi-stage builds in the #DockerCon AtSea demo app by @spara @jessvalarezo1“]


