This guest post was contributed by Diana Esteves, Solutions Architect, Pulumi.
Pulumi is an Infrastructure as Code (IaC) platform that simplifies resource management across any cloud or SaaS provider, including Docker. Pulumi providers are integrations with useful tools and vendors. Pulumi’s new Docker Build provider is about making your builds even easier, faster, and more reliable.
In this post, we will dive into how Pulumi’s new Docker Build provider works with Docker Build Cloud to streamline building, deploying, and managing containerized applications. First, we’ll set up a project using Docker Build Cloud and Pulumi. Then, we’ll explore cool use cases that showcase how you can leverage this provider to simplify your build and deployment pipelines.

Pulumi Docker Build provider features
Top features of the Pulumi Docker Build provider include the following:
- Docker Build Cloud support: Offload your builds to the cloud and free up your local resources. Faster builds mean fewer headaches.
- Multi-platform support: Build Docker images that work on different hardware architectures without breaking a sweat.
- Advanced caching: Say goodbye to redundant builds. In addition to the shared caching available when you use Docker Build Cloud, this provider supports multiple cache backends, like Amazon S3, GitHub Actions, and even local disk, to keep your builds efficient.
- Flexible export options: Customize where your Docker images go after they’re built — export to registries, filesystems, or wherever your workflow needs.
Getting started with Docker Build Cloud and Pulumi
Docker Build Cloud is Docker’s newest offering that provides a pair of AMD and Arm builders in the cloud and shared cache for your team, resulting in up to 39x faster image builds. Docker Pro, Team, and Business plans include a set number of Build Cloud minutes. (Refer to the pricing page to learn more about Docker plans.)
The example builds an NGINX Dockerfile using a Docker Build Cloud builder. We will create a Docker Build Cloud builder, create a Pulumi program in Typescript, and build our image.
Prerequisites
- Docker suite of products with Docker Build Cloud minutes
- Pulumi CLI
- Pulumi Cloud account (Individual free tier works)
- A Pulumi-supported language
Step 1: Set up your Docker Build Cloud builder
Building images locally means being subject to local compute and storage availability. Pulumi allows users to build images with Docker Build Cloud.
The Pulumi Docker Build provider fully supports Docker Build Cloud, which unlocks new capabilities, as individual team members or a CI/CD pipeline can fully take advantage of improved build speeds, shared build cache, and native multi-platform builds.
If you still need to create a builder, follow the steps below; otherwise, skip to step 1C.
A. Log in to your Docker Build Cloud account.
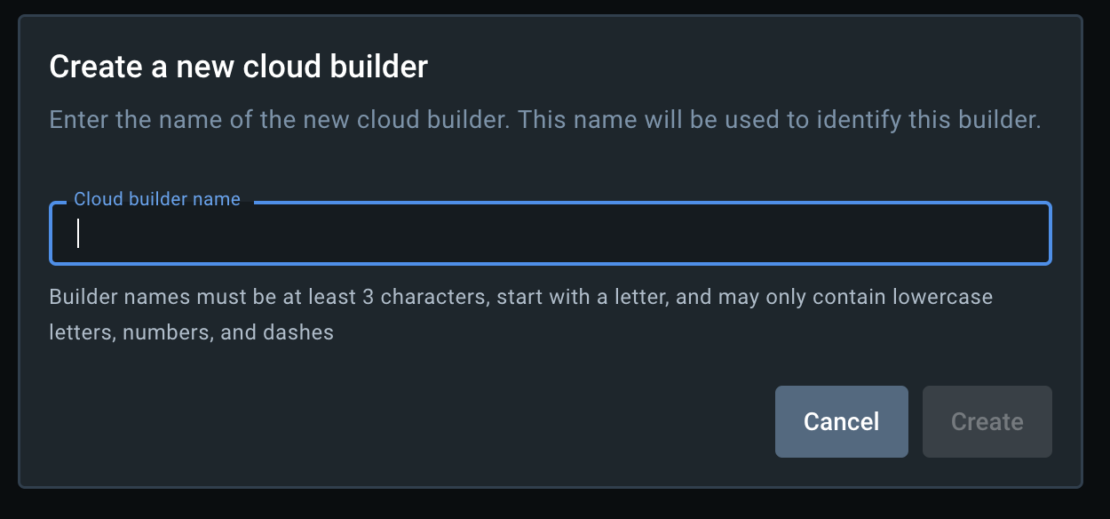
B. Create a new cloud builder named my-cool-builder.

C. In your local machine, sign in to your Docker account.
$ docker loginD. Add your existing cloud builder endpoint.
$ docker buildx create --driver cloud ORG/BUILDER_NAME
# Replace ORG with the Docker Hub namespace of your Docker organization.
# This creates a builder named cloud-ORG-BUILDER_NAME.

# Example:
$ docker buildx create --driver cloud pulumi/my-cool-builder
# cloud-pulumi-my-cool-builder

# check your new builder is configured
$ docker buildx ls
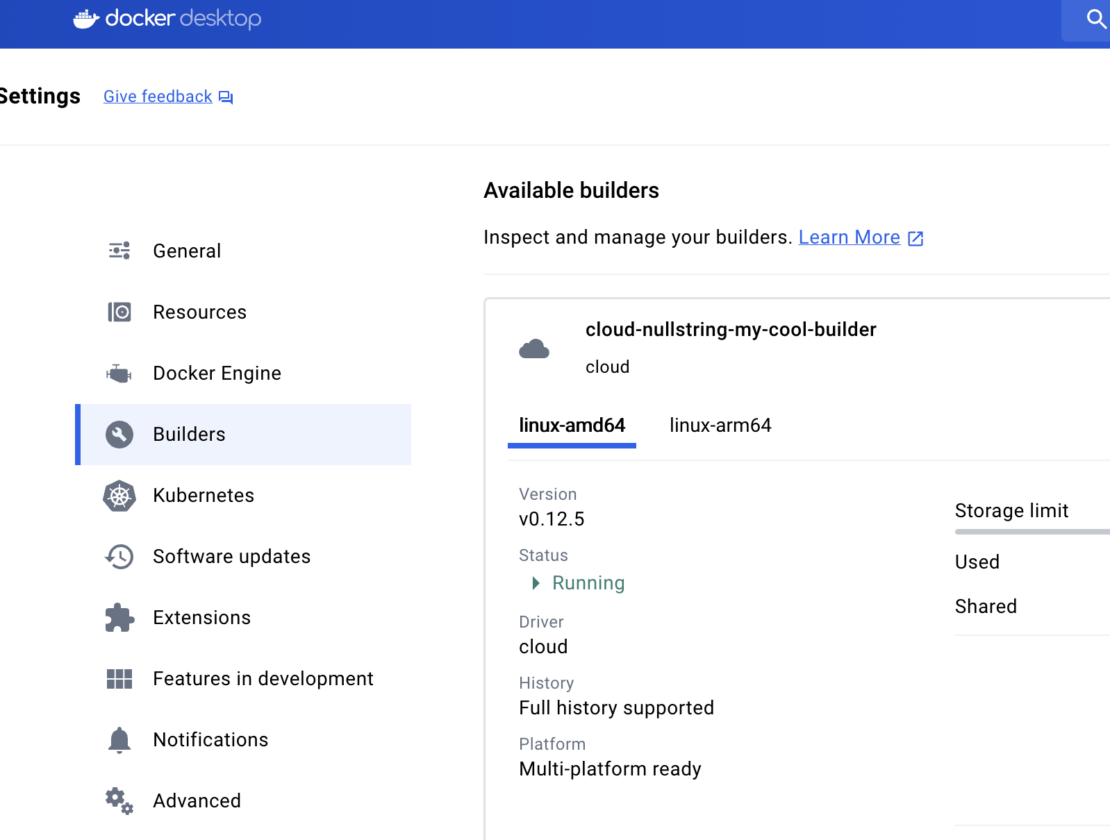
E. Optionally, see that your new builder is available in Docker Desktop.

For additional guidance on setting up Docker Build Cloud, refer to the Docker docs.
Step 2: Set up your Pulumi project
To create your first Pulumi project, start with a Pulumi template. Pulumi has curated hundreds of templates that are directly integrated with the Pulumi CLI via pulumi new. In particular, the Pulumi team has created a Pulumi template for Docker Build Cloud to get you started.
The Pulumi programming model centers around defining infrastructure using popular programming languages. This approach allows you to leverage existing programming tools and define cloud resources using familiar syntaxes such as loops and conditionals.
To copy the Pulumi template locally:
$ pulumi new https://github.com/pulumi/examples/tree/master/dockerbuildcloud-ts --dir hello-dbc
# project name: hello-dbc
# project description: (default)
# stack name: dev
# Note: Update the builder value to match yours
# builder: cloud-pulumi-my-cool-builder
$ cd hello-dbc

# update all npm packages (recommended)
$ npm update --save
Optionally, explore your Pulumi program. The hello-dbc folder has everything you need to build a Dockerfile into an image with Pulumi. Your Pulumi program starts with an entry point, typically a function written in your chosen programming language. This function defines the infrastructure resources and configurations for your project. For TypeScript, that file is index.ts, and the contents are shown below:
import * as dockerBuild from "@pulumi/docker-build";
import * as pulumi from "@pulumi/pulumi";

const config = new pulumi.Config();
const builder = config.require("builder");

const image = new dockerBuild.Image("image", {

   // Configures the name of your existing buildx builder to use.
   // See the Pulumi.<stack>.yaml project file for the builder configuration.
   builder: {
       name: builder, // Example, "cloud-pulumi-my-cool-builder",
   },
   context: {
       location: "app",
   },
   // Enable exec to run a custom docker-buildx binary with support
   // for Docker Build Cloud (DBC).
   exec: true,
   push: false,
});
Step 3: Build your Docker image
Run the pulumi up command to see the image being built with the newly configured builder:
$ pulumi up --yes
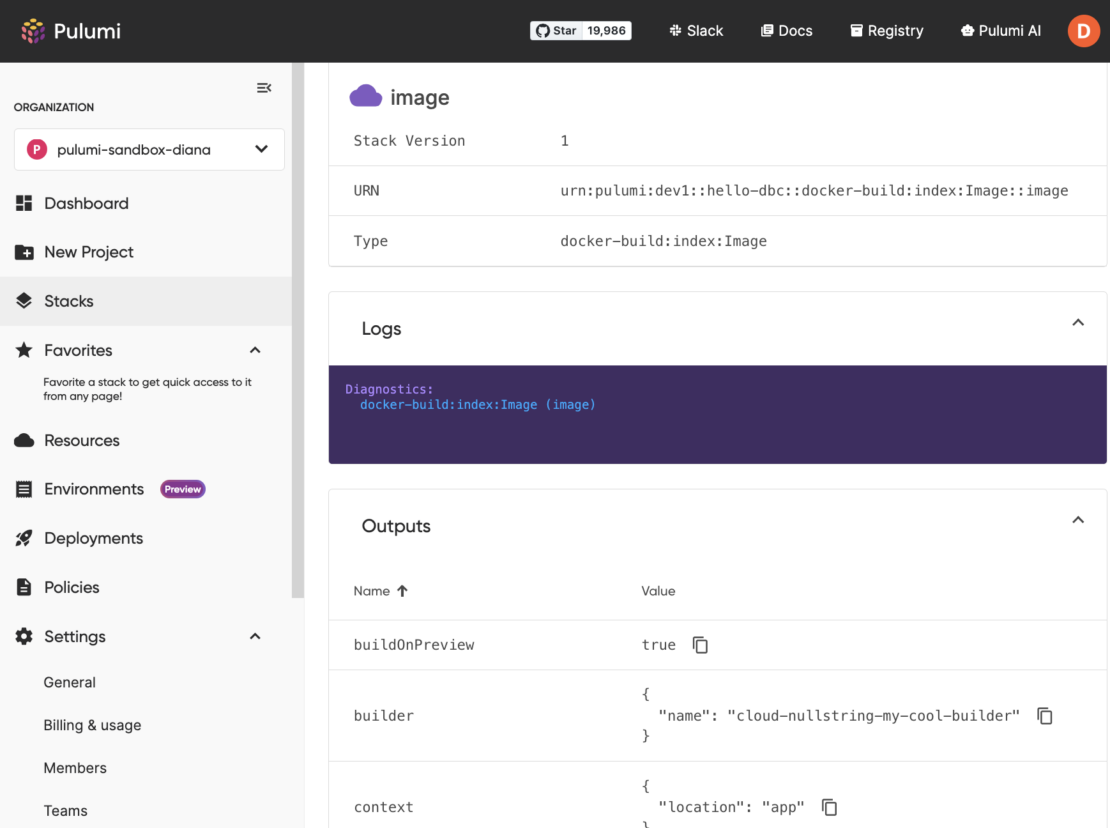
You can follow the browser link to the Pulumi Cloud dashboard and navigate to the Image resource to confirm it’s properly configured by noting the builder parameter.

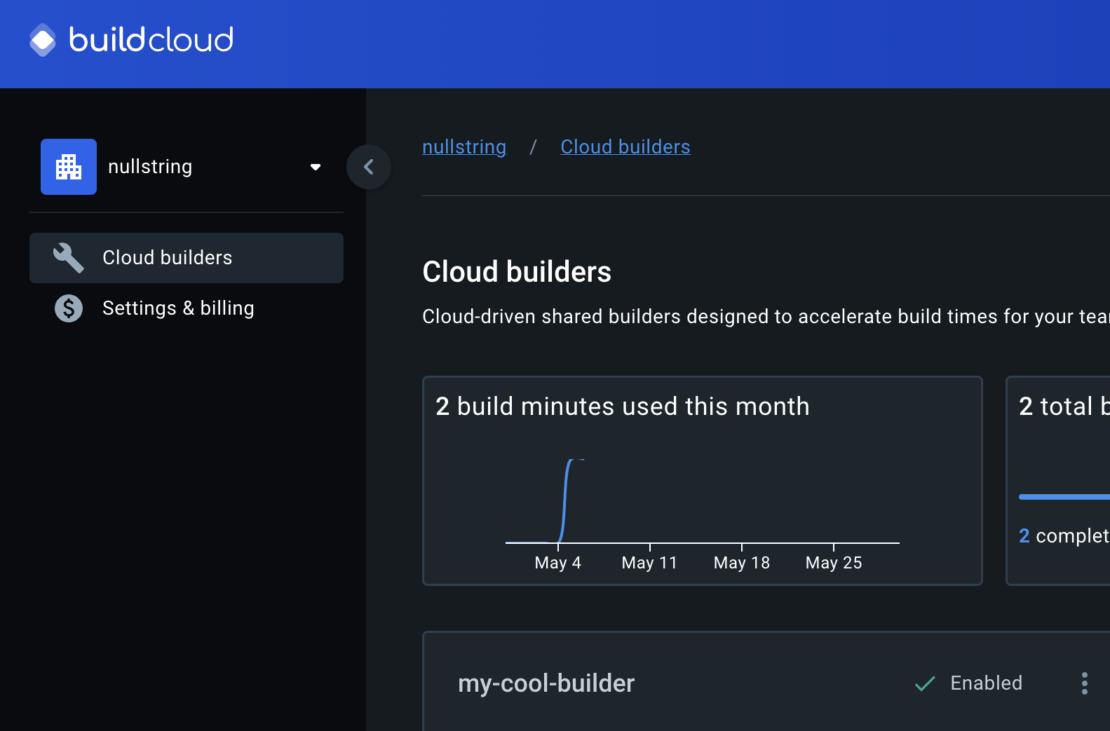
Optionally, also check your Docker Build Cloud dashboard for build minutes usage:

Congratulations! You have built an NGINX Dockerfile with Docker Build Cloud and Pulumi. This was achieved by creating a new Docker Build Cloud builder and passing that to a Pulumi template. The Pulumi CLI is then used to deploy the changes.
Advanced use cases with buildx and BuildKit
To showcase popular buildx and BuildKit features, test one or more of the following Pulumi code samples. These include multi-platform, advanced caching, and exports. Note that each feature is available as an input (or parameter) in the Pulumi Docker Build Image resource.
Multi-platform image builds for Docker Build Cloud
Docker images can support multiple platforms, meaning a single image may contain variants for architectures and operating systems.
The following code snippet is analogous to invoking a build from the Docker CLI with the --platform flag to specify the target platform for the build output.
import * as dockerBuild from "@pulumi/docker-build";

const image = new dockerBuild.Image("image", {
   // Build a multi-platform image manifest for ARM and AMD.
   platforms: [
       dockerBuild.Platform.Linux_amd64,
       dockerBuild.Platform.Linux_arm64,
   ],
   push: false,

});
Deploy the changes made to the Pulumi program:
$ pulumi up --yes
Caching from and to AWS ECR
Maintaining cached layers while building Docker images saves precious time by enabling faster builds. However, utilizing cached layers has been historically challenging in CI/CD pipelines due to recycled environments between builds. The cacheFrom and cacheTo parameters allow programmatic builds to optimize caching behavior.
Update your Docker image resource to take advantage of caching:
import * as dockerBuild from "@pulumi/docker-build";
import * as pulumi from "@pulumi/pulumi";
import * as aws from "@pulumi/aws"; // Required for ECR

// Create an ECR repository for pushing.
const ecrRepository = new aws.ecr.Repository("ecr-repository", {});

// Grab auth credentials for ECR.
const authToken = aws.ecr.getAuthorizationTokenOutput({
   registryId: ecrRepository.registryId,
});

const image = new dockerBuild.Image("image", {
   push: true,
   // Use the pushed image as a cache source.
   cacheFrom: [{
       registry: {
           ref: pulumi.interpolate`${ecrRepository.repositoryUrl}:cache`,
       },
   }],
   cacheTo: [{
       registry: {
           imageManifest: true,
           ociMediaTypes: true,
           ref: pulumi.interpolate`${ecrRepository.repositoryUrl}:cache`,
       },
   }],
   // Provide our ECR credentials.
   registries: [{
       address: ecrRepository.repositoryUrl,
       password: authToken.password,
       username: authToken.userName,
   }],
})
Notice the declaration of additional resources for AWS ECR.
Export builds as a tar file
Exporting allows us to share or back up the resulting image from a build invocation.
To export the build as a local .tar file, modify your resource to include the exports Input:
const image = new dockerBuild.Image("image", {
   push: false,
   exports: [{
       docker: {
           tar: true,
       },
   }],
})
Deploy the changes made to the Pulumi program:
$ pulumi up --yes
Review the Pulumi Docker Build provider guide to explore other Docker Build features, such as build arguments, build contexts, remote contexts, and more.
Next steps
Infrastructure as Code (IaC) is key to managing modern cloud-native development, and Docker lets developers create and control images with Dockerfiles and Docker Compose files. But when the situation gets more complex, like deploying across different cloud platforms, Pulumi can offer additional flexibility and advanced infrastructure features. The Docker Build provider supports Docker Build Cloud, streamlining building, deploying, and managing containerized applications, which helps development teams work together more effectively and maintain agility.
Pulumi’s latest Docker Build provider, powered by BuildKit, improves flexibility and efficiency in Docker builds. By applying IaC principles, developers manage infrastructure with code, even in intricate scenarios. This means you can focus on building and deploying your containerized workloads without the hassle of complex infrastructure challenges.
Visit Pulumi’s launch announcement and the provider documentation to get started with the Docker Build provider.
Learn more
- Get started with the Pulumi Docker Build provider.
- Read the Pulumi Docker Build provider documentation.
- Read the Docker Build documentation.
- Learn about Docker Build Cloud.


